July 31, 2011

Clay on the Inside


Joshua Klyber and Natanya Sabel of Living Walls in Portland were the brains and brawn behind all of the plaster on the house. They were super to work with and very professional. (and good fun) http://www.livingwallspdx.com/ We could never have done it without them.

Joshua wearing his engineering hat before rounding one of the dividing walls to make the edges softer.


Natanya applying first coat to the living room.


First coat in upstairs study.


Dining Room.

Completed first coat downstairs

Joshua into the final furlong.


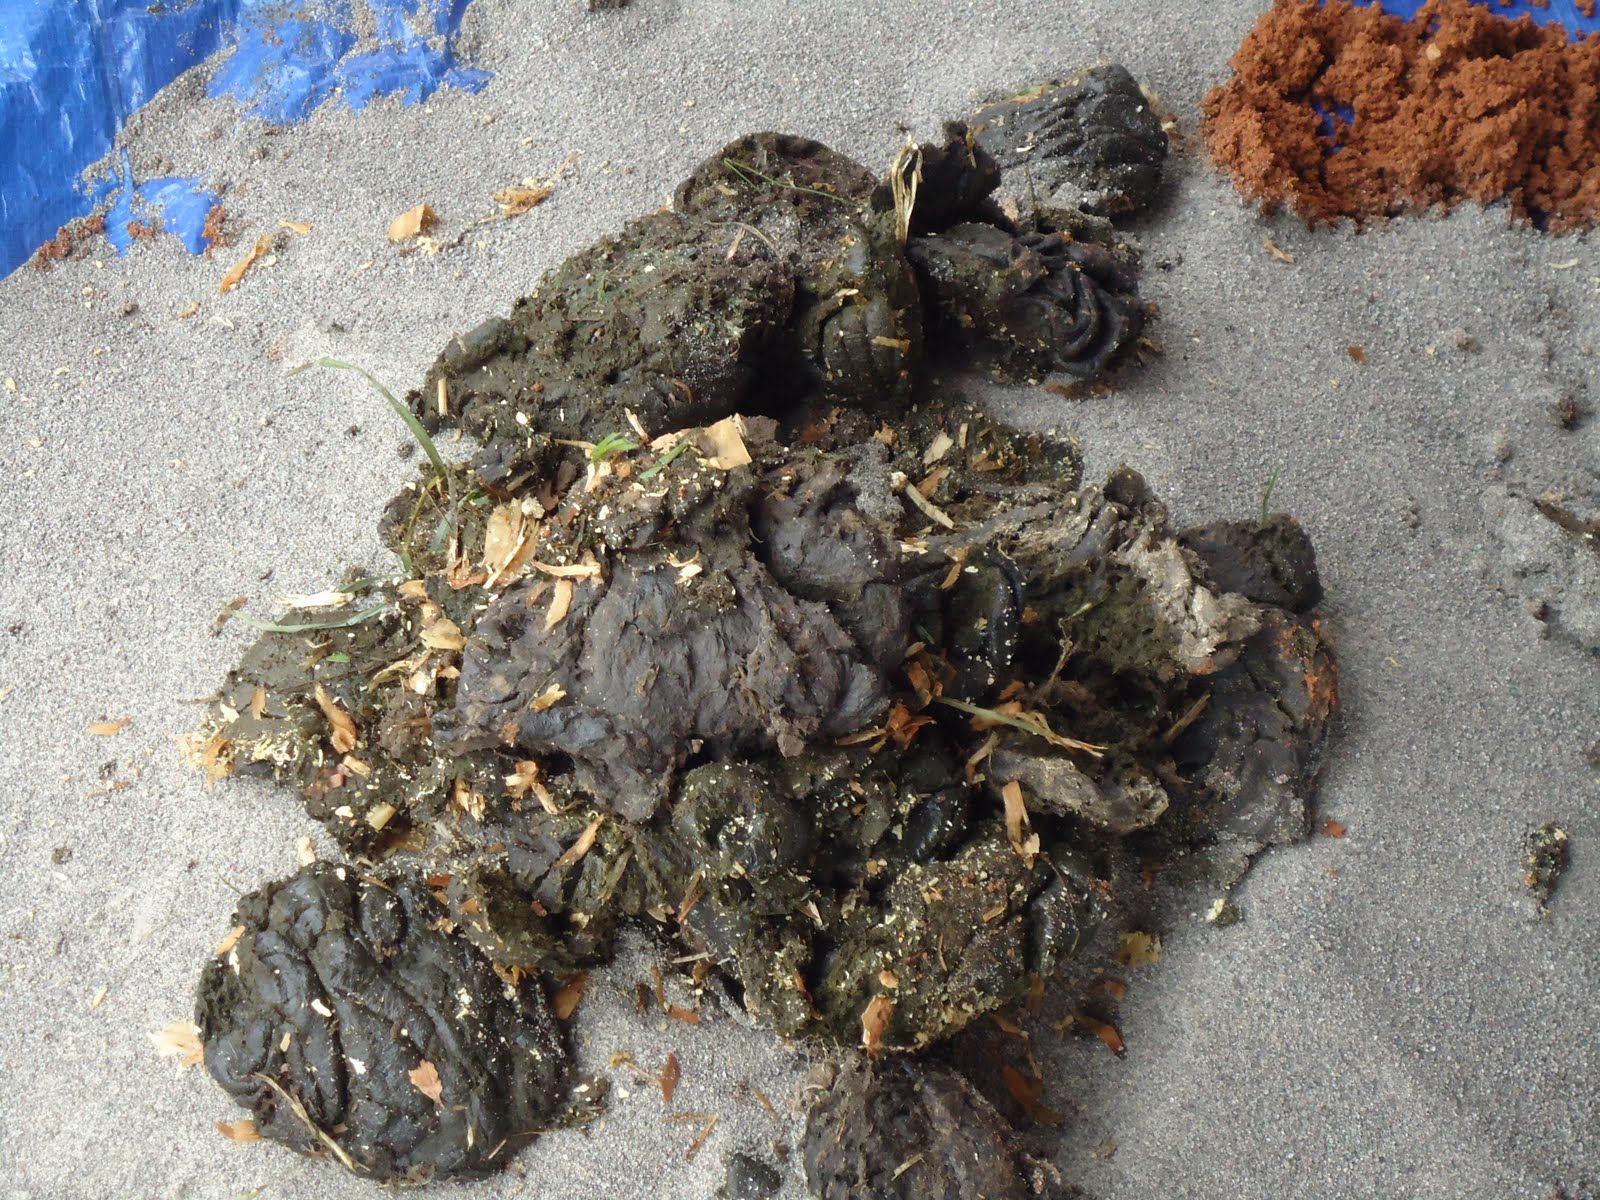
Finished Mud Room and half bathroom. We decided to leave the utility area as natural clay for two reasons. 1. We love the color and 2.A reminder what natural clay looks like years from now The rest of the house had a second coat of clay applied to the base coat with coloured pigment added.

Master bedroom. Soft green top coat.

Guest bedroom. VERY red. We like it! Visitors should bring dark glasses!


Holy Cow!

The real test here is whether or not I can make it through the entire post without using a four letter word beginning with s and ending in t....read on.....

Through our building process we gave a good deal of thought on how to finish out the interior of the Faswall blocks and decided upon natural clay to give the house a warm and organic ambiance. We tested a recipe for thickness and firmness. Here it is.


Our friend Beatrice had excavated a big hole for a car port at her property so we hauled in many garbage bins of beautiful thick red clay. Lots of stones had to be removed from it, so Sarah literally spent weeks sieving it through 1/4' mesh to remove large objects. Don't mention the aching back.


Sifted clay drying inside house.


The recipe called for cow manure as these natural enzymes act as a binder.
Here is Remington our neighbours' cow who provided well.

Sarah and Tim gathering poop in the pasture.

Cow poop on sand ready to mix with clay.


Mike shredding straw in a very old but super efficient machine.


Mike again mixing all of the clay ingredients: Clay, sand, cow manure, straw and water.
First application to closet.

After all of the interior clay was complete we made clay cakes and stored them in air tight containers for touch up and repairs at a later date. With hydration the clay can be re-used.

July 24, 2011

Exterior Clay 202


Sarah looking out of guest bedroom. Following shots show finished color.


Rear of house


Welcome!

East Side.

After many color samples vacillating back and forth between yellow, green and brown we opted for #054. Mostly soft brown with red highlights.

The second story proved quite challenging in some areas. Lovely bottom Natanya!


This view shows the finished lime plaster below Second story has the lime wash with coloured pigment.

We had rave reviews about the gray second coat, but decided that there is enough grey in Oregon, so we started the hunt for a suitable color. Too many color swatches, too few agreements on finished color


The weather was challenging, despite the weather man assuring us it would be dry. He was wrong. Plaster does not like rain

Mike the Mixer making sure the ratios of lime to sand are spot on!


Things came together well and the 2nd coat adhered well to the 1st coat.
Exterior view. 2nd coat on left. 1st coat on right.


Beginning 2nd coat of lime plaster on the exterior walls.

Wood Stock


Back in the day we purchased these bleacher boards that came out of a High School in S. Oregon that was demolished. There was no shortage of paint, varnish and chewing gum on them.

#9
(Only Oldies and Beatles fans will get this one)

We loaded all the boards onto our trailer and hauled it to NW Millwork in Salem to be planed.


A fork lift unloaded the wood much faster than our manual loading.


One week later we were amazed at the transformation.

The old growth Douglas Fir clear vertical grain lumber that you see here will be the interior wide plank flooring on the main floor of our house.