May 23, 2010

Final Blocks and Final Concrete


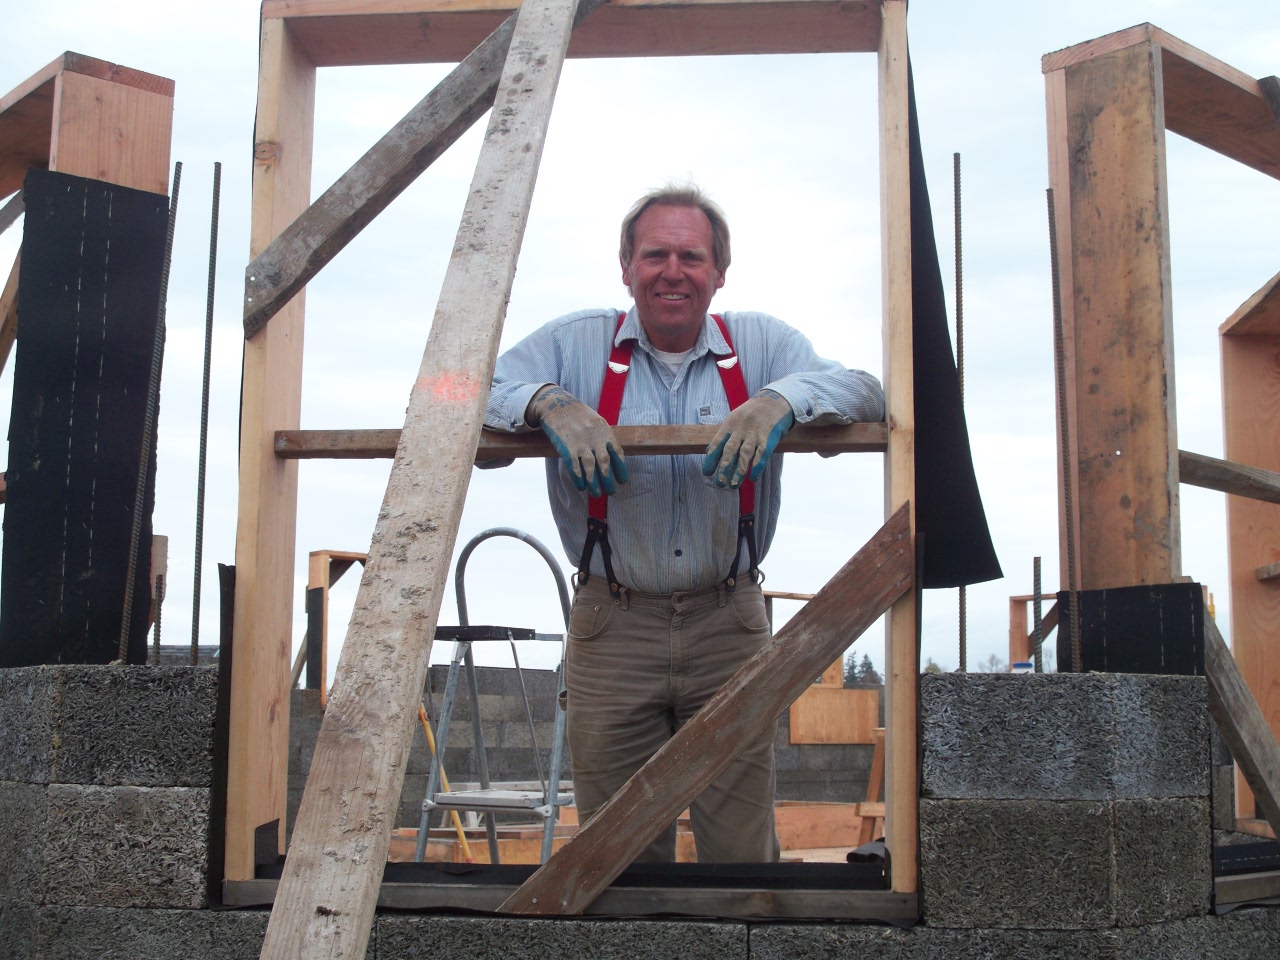
Kirk put in many hours of overtime this week to get all of the top boards set and ready for roof trusses. In the meantime we are spending time pouring over color swatches to come up with a color scheme for the roof, house, trim and windows. I like tie-dye, Kirk likes grey!

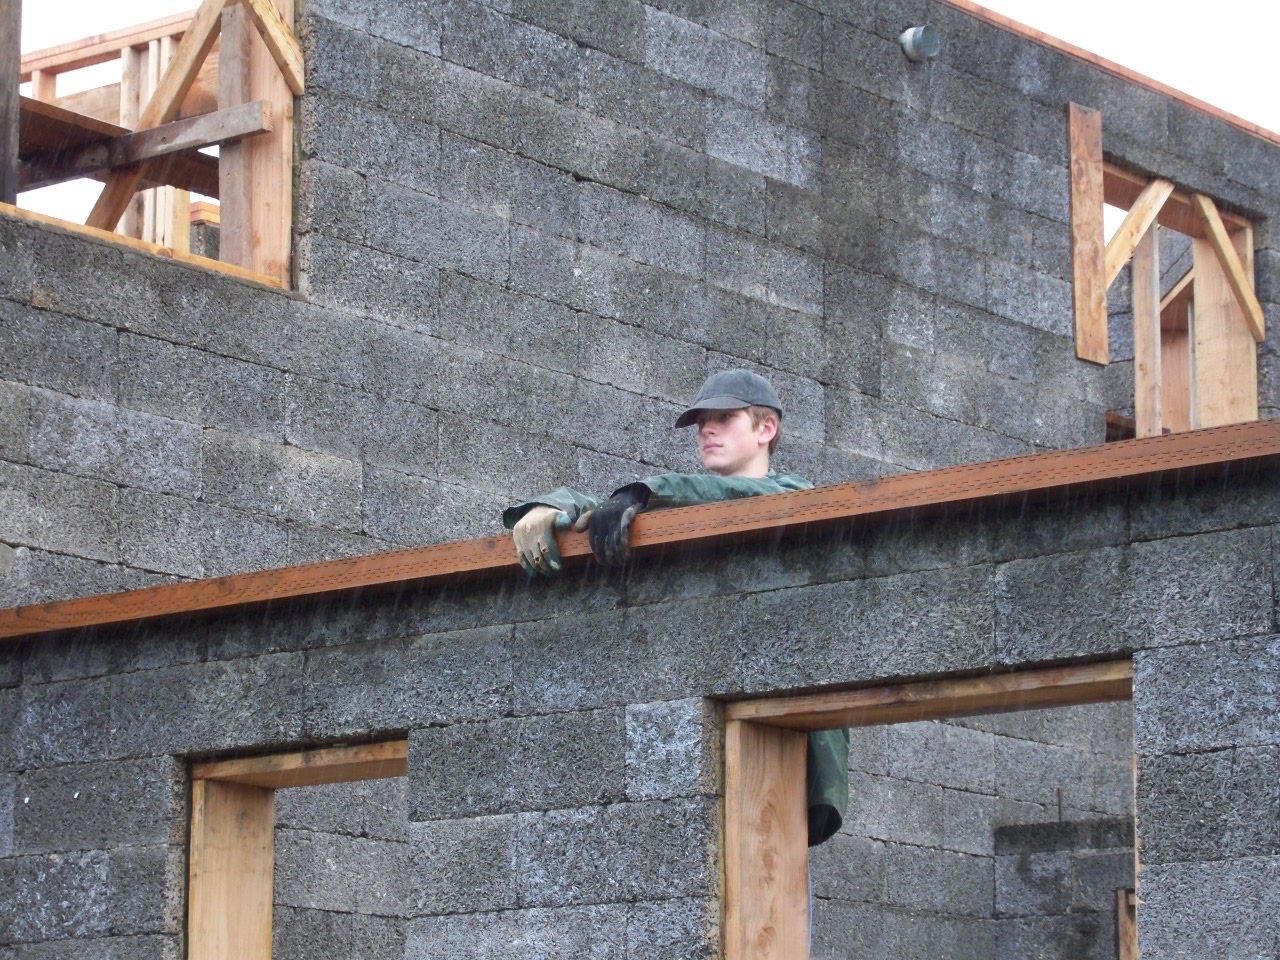


Tim stepped up to the plate to relieve me while I iced my back for two days and with Kirk's muscle and direction they made good progress with the top plates.


Boy oh boy we hit weather this week. Showers, hail and heavy rain were alternating every 15 minutes all week. It was tough to deal with the wet. In addition I threw out my back while lifting a heavy treated board. I knew as soon as I lifted without bending my knees that something went out. Just a reminder to use correct technique when playing with wood.


The local Sustainable Building Network (SBN) asked if they could host their monthly meeting at our site. Things went well considering we are still somewhat of an oddity being the first Faswall house in Linn or Benton county. The contractors and builders who attended all liked the sustainability of the house. Sue Rutherford our house designer is at the bottom of the ramp. http://suerutherford.com/. Tom Van Denend, president and co-owner of Shelter Works, the manufacture of Faswall blocks is on the ramp in the white cap. We love this product! For more info go to www.shelterworksonline.com


The last block in the wall!....strategically positioned by Wayne. Once again we modified our house plans and decided to stop the Faswall above the window blocks rather than laying them all the way to the top of the roof line. Let's hope it was a good choice.......


Mowing Mama. Sun and showers, the perfect recipe for grass growth. Thank heavens for the riding lawn mower.


Nothing to do with construction, but somewhere during this phase there were concerts. Matt and Tim at the Hult after a performance from Rain, The Beatles tribute band. Great show. Let it Be!

Tim's final performance with the Middle school orchestra.

It's a dirty job but somebody has to do it!


Jim up to his elbows in cement

Nice hat!


Tim assisted with trowels and leveling tools. We learned the hard way that this job is better with more hands on deck rather than too few.

The boomer concrete truck came twice more to pour cement and stabilize the walls. Each cell of the blocks had to be filled and we used a vibrating rod to shake the cement down.

May 3, 2010

Three Months On.........

It is now exactly three months since we broke ground and it is nice to look back on all that has been accomplished. Kirk has revelations (or nightmares) in the middle of the night over something he missed or could have done differently. I sleep like a baby!


Enjoying the view from the tub location.......need candles, loofah and rubber duck.


Looking through master bedroom window. The long pole shows where the top of the roof will be.


Top of roof pitch from second floor. Cathedral ceilings in bedrooms.


These two images show the first supporting beams and posts that will be exposed in the house. We covered them in an effort to keep them clean but will need to remove many black smudgy finger prints that appeared during erection. These things are heavy!


More Simpson supports and fasteners.


Finally the guys were able to put in a temporary staircase to access the second floor. This was a huge bonus after all the hundred of trips hauling materials up and down ladders.


Sarah enjoying the view from the top. The door buck behind her will access the upstairs deck


We decided that sometimes a jury rigged job is not always the safest, so Kirk spent the weekend putting in an "OSHA" standard temporary floor to house the scaffolding for the remainder of the 2nd floor walls.


The accumulation of debris and burn piles seems inevitable in a project of this size. The size and number of piles are congruent with the size of the house. Plenty of old concrete, dirt, rusty poles and wood scraps going very cheap!


April 29, 2010

Interior Framing


Views from the master bedroom. Hopefully the piles of debris will be gone or burned. Top shot shows this years trees, bottom view shows second and third years growth.


Almost an aerial view of the top floor. The fastener is a Simpson strap that ties the floor system to the wall system.


Next job after the interior walls was fitting the floor joists for the second floor (first floor in England). It required a lot of muscle and good balance hoisting the lumber up and down the ladders.


Kirk standing in the upstairs master bathroom admiring the view from where the bath tub will sit. It juts into an alcove, I wanted ambiance!

The view so far. The native conifers in the foreground are now two years old. Tim's bedroom, the kitchen and the mud room are the three rooms on the right of the house.


Our "VERY" good friends Gary and Pat volunteered their services for a days framing. It was very productive and they got much of the interior framing set.


Kirk sized the beams with his chain saw. Once the beams were cut Sarah spent a week sanding and staining the beams. We used Tried and True Natural wood stain and it is a wonderful product. Easy to apply and a little goes a long way. Beautiful results. http://www.triedandtruewoodfinish.com/

March 23, 2010

Bucking Windows


Master and Commander a.k.a. Chief Window Bucker!

The army paid a visit for a thorough inspection of the work so far. They felt a little tweaking was necessary. From left to right, Lieutenant Tompson, Staff Sergeant Timson and Corporal Summer


Different stages of the pour, showing the integrity of walls and rebar spacing.


The third concrete pour. Jim runs this show with precision. Kirk had to ensure that concrete fell all the way down to the top of the previous pour. He said it was hard work and needed lots of muscle to push cement into all of the vacuums inside the blocks.

View through to the dining room. We changed the original design of the
window layout, from one large slider to three casement windows.


Kirk making final adjustments to corners in preparation for the next concrete pour

March 16, 2010

Floored!


The crew so far, Wayne, ex pro football player, Jim, ex state champion wrestler and Kirk master golfer. Big hands, big feet, big gentlemen!.

Tim in his bedroom.


This view shows the sub floor and continuation of blocks


Framing around the fire place. Thank heavens for brawn and muscle, these joists were heavy, not to mention the wear and tear on backs and knees with all of the bending and moving underneath the joists in what is now the crawl space

Inside the stem wall, we positioned pony walls for the floor joists to sit on. Here is the long view of the first floor (Eng. ground floor )

Raising Walls


Rain or shine, the show must go on.

Per the engineering plans, re-bar had to positioned every 2 ft on most parts of the house and every 1 ft on the front of the house where we have more windows.


Miscellaneous pipes had to be added. Here is some of the plumbing.


Stem wall, bracing for pony walls and vent bucks.


Interior view shows preparation for the masonry wood stove. It's a big one and thus needs to have a separate footing.